
Downsizing can feel overwhelming, but a little planning—and a splash of color—can make the process much easier. By using a simple sorting system and color-coded painter’s tape, you’ll stay organized and make confident decisions.
Step 1: Set up your sorting system
Before you start, create clear categories for your items. We recommend:
- Move
- Sell
- Donate
- Give to family/friends
- Storage
- Recycle/Trash
- Leave with the house
Pick up colored painter’s tape and assign a color to each category. Then, post a key in a central spot so everyone helping knows the system.
Step 2: Start small & practical
If making decisions feels tough, begin with easy areas like the kitchen or bathrooms—items here tend to be more straightforward. Don’t worry about where each item is going yet; just focus on what stays and what goes. Sorting like items together can also make decisions easier.
Step 3: Label with painter’s tape
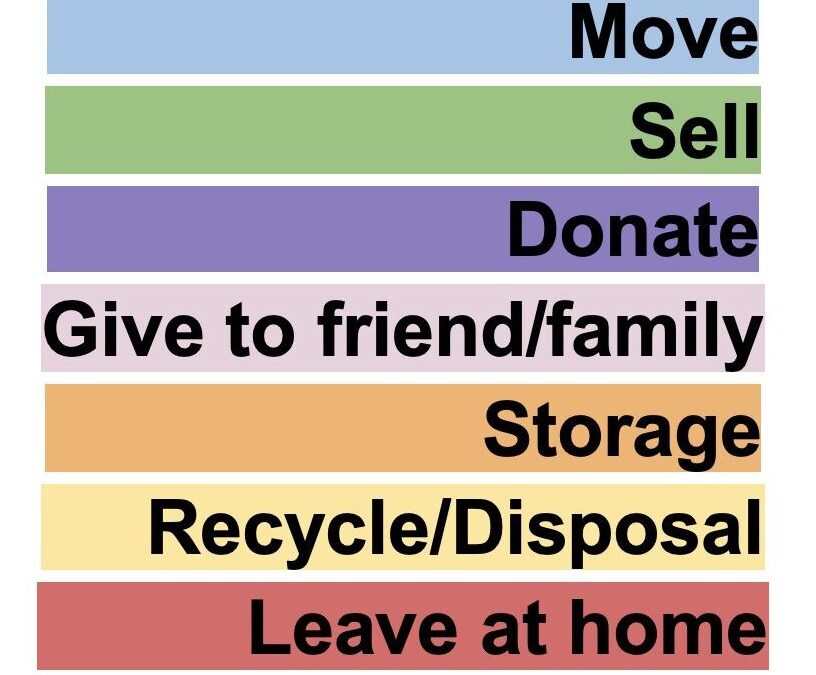
Once you’ve sorted, label each item with the appropriate color:
- Blue – Keep & move
- Green – Sell
- Purple – Donate
- Pink – Give to friends/family (write their name on it)
- Orange – Storage
- Yellow – Trash/Recycle
- Red – Leave with the house
This visual system keeps everything clear, speeds up decision-making, and prevents second-guessing.
Pro tips for an easier process
- Schedule time to give items to loved ones.
- Find a charity that needs your donations—it’s extra motivating!
- Put donation items in your car right away so they don’t linger in your home.
Downsizing doesn’t have to be stressful. A little organization and some painter’s tape can turn it into a smooth, simple process. Happy sorting!
Work hard and be kind!
Love,
Your friends at Cut the Clutter RVA